MLOps Basics [Week 3]: Data Version Control - DVC – Raviraja’s Blog
Excerpt
Classical code version control systems are not designed to handle large files, which make cloning and storing the history impractical. Which are very common in Machine Learning. In this post, let’s see how to use DVC for doing version controlling of models and data.
Data Version Control
Machine learning and data science come with a set of problems that are different from what you’ll find in traditional software engineering. Version control systems help developers manage changes to source code. But data version control, managing changes to models and datasets, isn’t so well established.
It’s not easy to keep track of all the data you use for experiments and the models you produce. Accurately reproducing experiments that you or others have done is a challenge.
There are many libraries which supports versioning of models and data. The prominent ones are:
and many more…
I will be using DVC.
In this post, I will be going through the following topics:
Basics of DVCInitialising DVCConfiguring Remote StorageSaving Model to the Remote StorageVersioning the models
Note: Basic Knowledge of GIT is needed
Basics of

 (Data Version Control) is a new type of data versioning, workflow, and experiment management software, that builds upon Git.
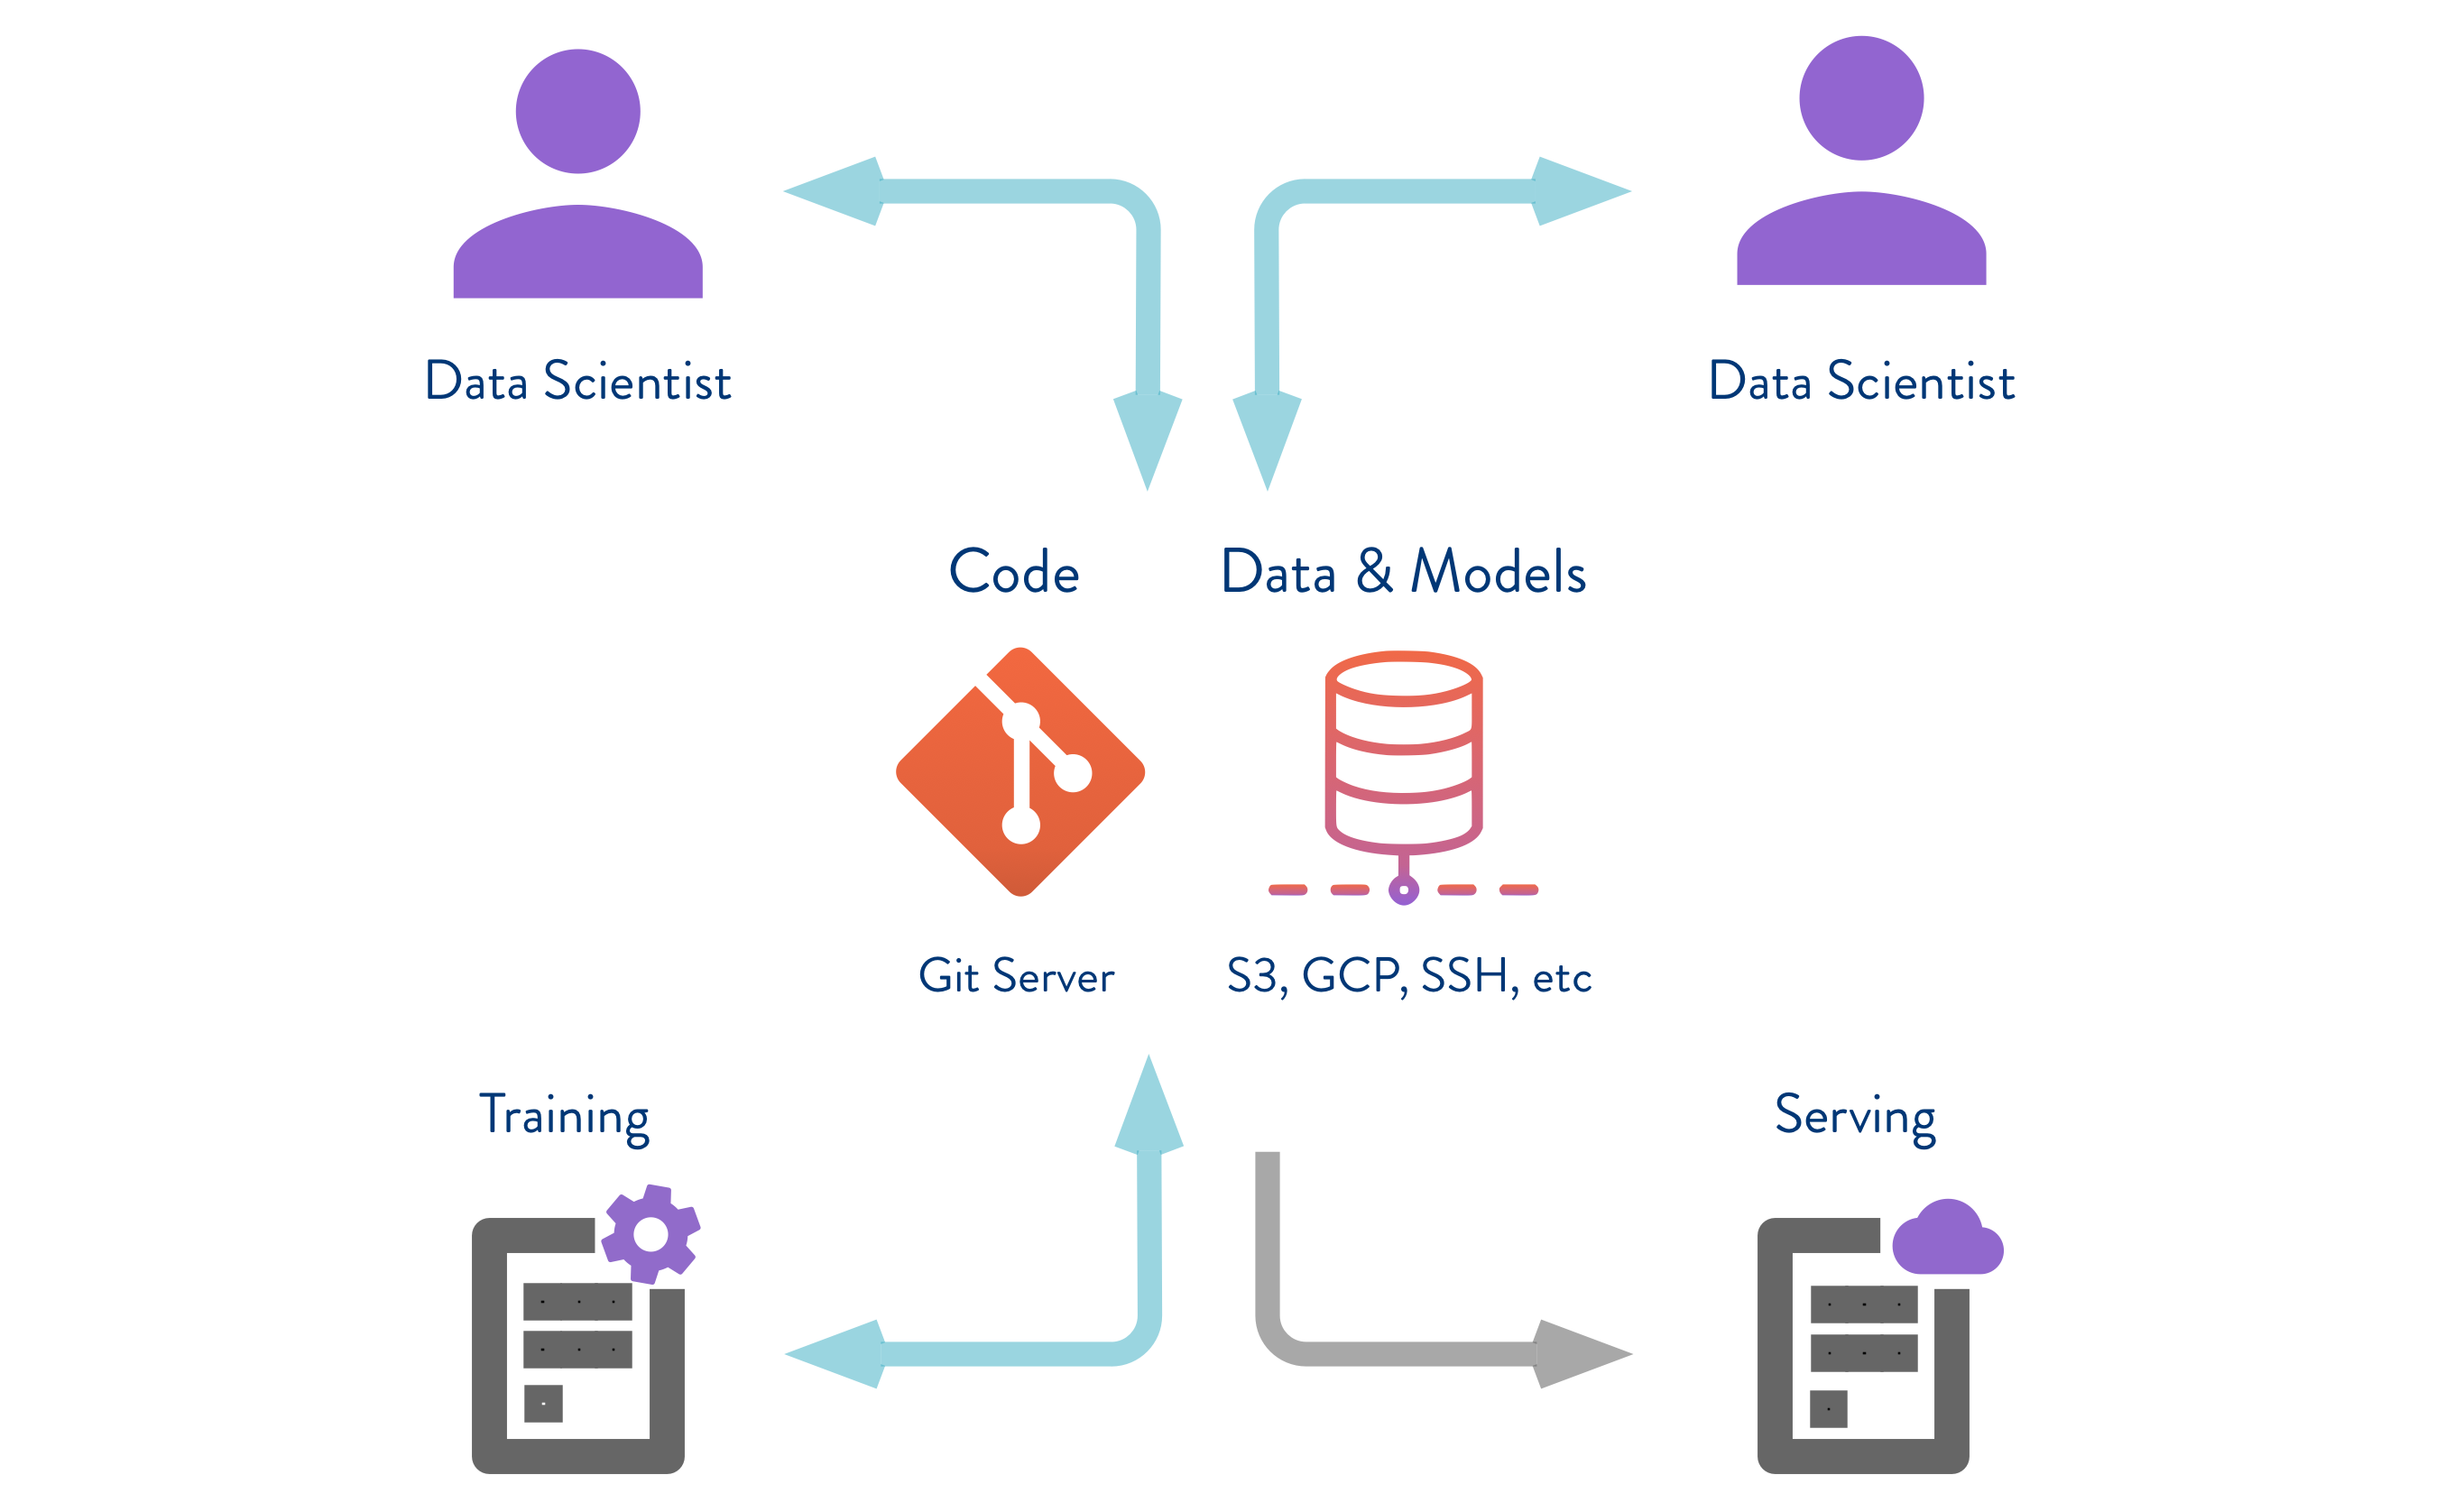
Data science experiment sharing and collaboration(processing, training code, configurations, etc.) can be done through a regular Git flow (commits, branching, pull requests, etc.), the same way it works for software engineers.
Data versioning is enabled by replacing large files, dataset directories, machine learning models, etc. with small metafiles (easy to handle with Git). These placeholders point to the original data, which is decoupled from source code management.
All the large files, datasets, models, etc. can be stored in remote storage servers (S3, Google Drive, etc). DVC supports easy-to-use commands to configure, push, pull datasets to remote storage.
Git tracks the metadata file, while DVC handles the remote repository.
Using Git and DVC, data science and machine learning teams can:
- version experiments
- manage large datasets
- make projects reproducible.
🎬 Initialising

Let’s first install DVC using the following command:
pip install dvcSee other ways of installation here
Many commands are similar to GIT.
Let’s initialise the using the following command:
dvc initMake sure you run the command in the top level folder. Ideally where the .git folder is present
Upon initialisation you will see output like:
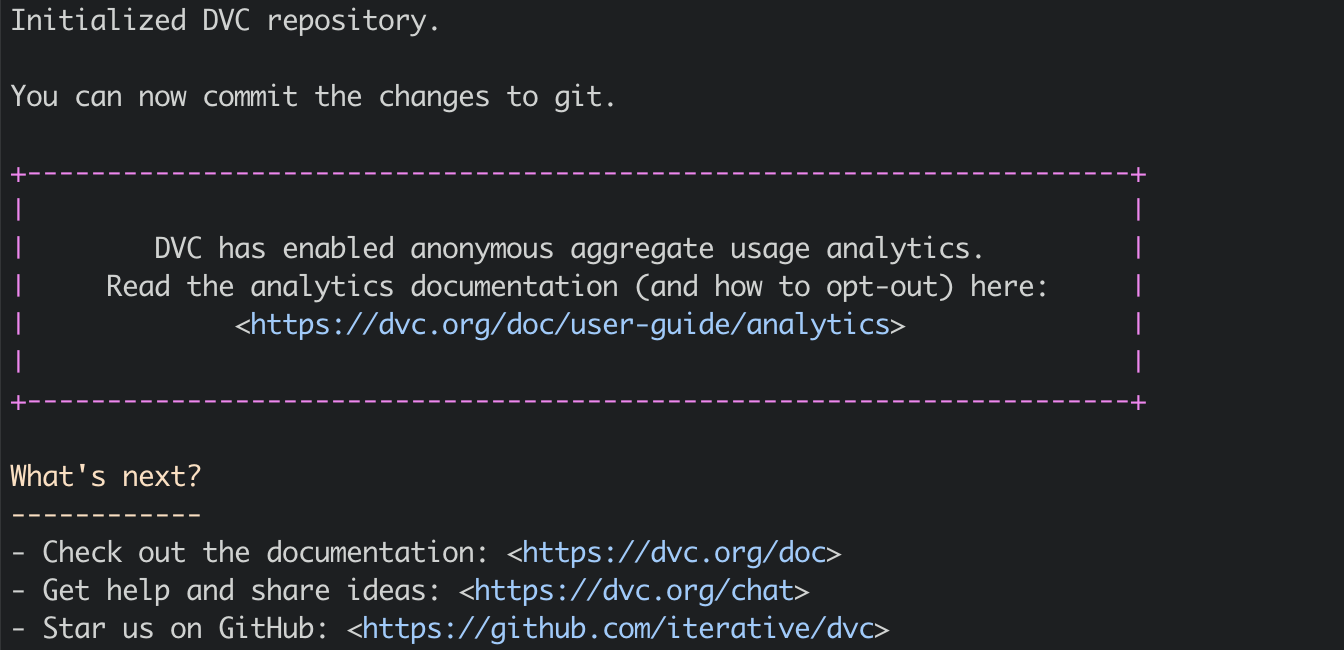
This command will create .dvc folder and .dvcignore file. (Similar to git)
💽 Configuring Remote Storage
Now let’s configure some remote storage to store our trained models (or datasets).
 offers support integration with wide range of remote storages.
For simplicity, I will be configuring Google Drive as the remote storage.
I have created a folder called MLOps-Basics in my Google Drive.
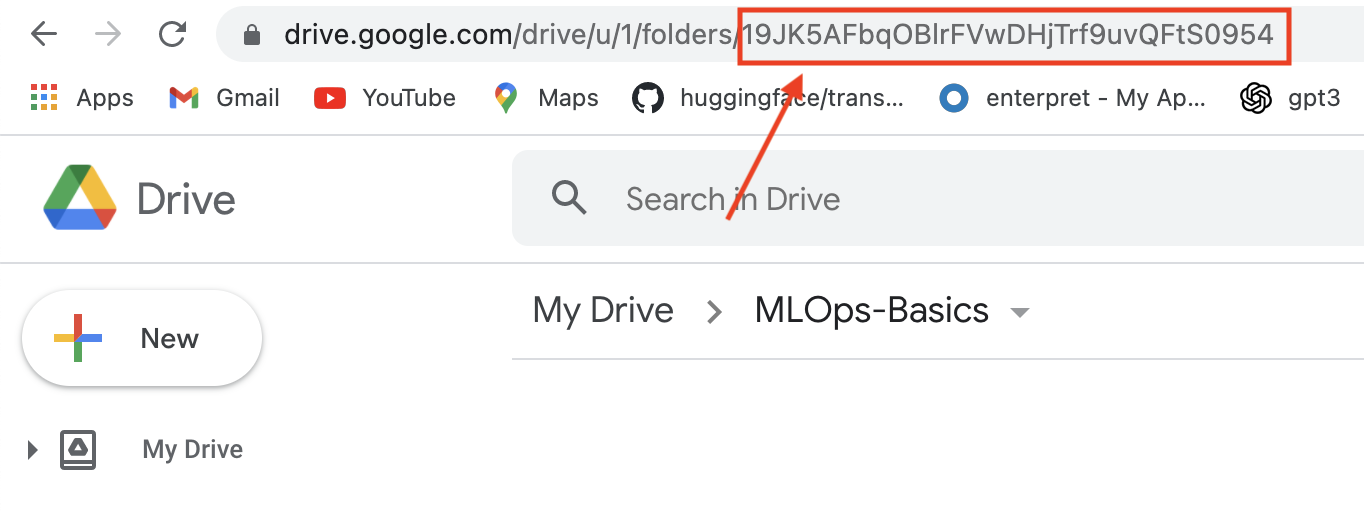
Now let’s configure this model as remote storage.
Run the following command:
dvc remote add -d storage gdrive://19JK5AFbqOBlrFVwDHjTrf9uvQFtS0954Make sure the ID after gdrive:// matches the same in the google drive folder.
Once the command is ran, check the contents of the file .dvc/config whether the remote storage is configured correctly or not.
It will something like:
[core] remote = storage ['remote "storage"'] url = gdrive://19JK5AFbqOBlrFVwDHjTrf9uvQFtS0954🔁 Saving Model to the Remote Storage
Now let’s add the trained model to the remote storage.
First run the code
python train.pyNow the trained model is available in the models folder as best-checkpoint.ckpt
Ideally, people do
dvc add models/best-checkpoint.ckptand this will create the file models/best-checkpoint.ckpt.dvc. I want to follow a slightly different way for making the management of .dvc files a bit easier.
Let’s create a folder called dvcfiles.
The folder structure looks like:
. ├── README.md ├── configs │ ├── config.yaml │ ├── model │ │ └── default.yaml │ ├── processing │ │ └── default.yaml │ └── training │ └── default.yaml ├── data.py ├── dvcfiles ├── experimental_notebooks │ └── data_exploration.ipynb ├── inference.py ├── model.py ├── models │ └── best-checkpoint.ckpt ├── outputs ├── requirements.txt ├── train.pyNow let’s navigate to the dvcfiles folder and do the following.
dvc add ../models/best-checkpoint.ckpt --file trained_model.dvcWhat we are doing here is:
- Adding the trained model
- Instead of deafult
.dvcfile name we are telling to create the.dvcfile withtrained_model.dvcname.
By doing this way, you can always know where the dvc files are. You don’t need to remember the paths where the data is stored.
 creates 2 files when you run the
 add command. .dvc file and .gitignore file. So DVC takes care of not pushing the model to git.
Now let’s push the model to remote storage by running the following command:
dvc push trained_model.dvcThis will ask for authenication

Copy paste the code in the link prompted
Once authenicated, the data will be pushed.
1 file pushed
Check the google drive, a folder will be created with some name.
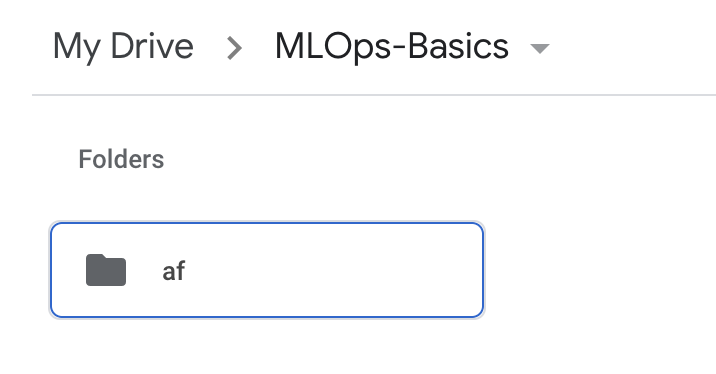
Now the final step is to commit the dvc files to git. Run the following commands:
git add dvcfiles/trained_model.dvc ../models/.gitignore git commit -m "Added trained model to google drive using dvc" git pushLet’s delete the model from models/best-checkpoint.ckpt and pull from remote storage using dvc.
rm models/best-checkpoint.ckptThen navigate to the dvcfiles folder and then run the command:
dvc pull trained_model.dvcYou will see output as:
A ../models/best-checkpoint.ckpt 1 file addedAs you can see, follows
 pattern to
 commit, push and pull data to remote storage.
🏷 Versioning the models
Versioning is same as tagging in git. By tagging the commit, we are telling that particular dvc files belong to that version.
Let’s create a tag called v0.0 as the version for the trained model.
git tag -a "v0.0" -m "Version 0.0"Then push the tags to git.
git push origin v0.0Now you can see the tag in git under tags

Let’s update the model (as an example trained with more epochs).
python train.py training.max_epochs=3Now the model is updated. Let’s add it to
cd dvcfiles dvc add ../models/best-checkpoint.ckpt --file trained_model.dvc dvc push trained_model.dvcNow let’s create a new version for this model.
git tag -a "v1.0" -m "Version 1.0"Let’s push all this to git.
git commit -m "updated model version" git push # push the tag also git push origin v1.0Now in the git you can see
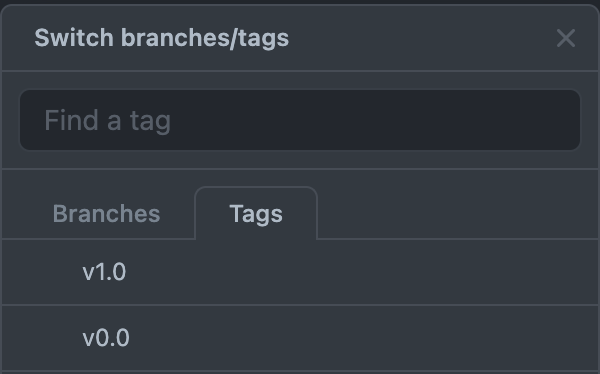
Switching the versions is as simple as navigating to the required tag and pulling the corresponding files.
According to the data present .dvc file the model will be updated.
Make sure to run the command to get the corresponding data:
cd dvcfiles
dvc pull trained_model.dvc
🔚
This concludes the post. These are only a few capabilities of . There are many other functionalities like:
and much more… Refer to the original documentation for more information.
Complete code for this post can also be found here: Github